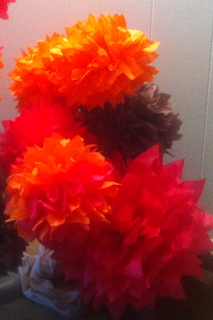
I think Tissue Poms are one of the neatest, cheapest, funnest ways to decorate for a party on a low budget. Heck, I'll still use them on a large budget! But please, give these a try on your own before you shell out double the price on packaged tissue poms. With only four items (2 of which you already have at home), you can make your own tissue poms that look much better than a packaged version!
There are a lot of websites out there that show you how to make poms, and lots of youtube videos that can help you out. I've posted a few of my favorite videos and a couple pics of my tissue poms. All you'll need is a package of tissue, scissors, a stapler, and some clear fishing line. That's it!!!
Try this video:
How to Make a Tissue Pom
Jenny does a great job at showing each step. I will add a couple points of my own here.
- Jenny used 9 sheets on her large pom. I use 10, because I like mine very full. For a medium size pom, I cut the sheets in half, and use 8 of them. I've also done small poms, at about 1/3 of the large size and use 5 sheets. Give each size a try.
- I staple my poms in the middle once I fold up the sheets. It holds them together well.
- I use clear fishing line and wrap and staple around the middle of the pom so that I can hang it up after seperating the sheets. Make sure and do this right after stapling.
- Like Jenny says, you can round or point the ends of the poms. I prefer the point look, but try what you like!
Purple Pom
Here are a couple of my pics:
 |
| You can see here the difference in sizes. I made large, medium and small. |
 |
| These small poms I just placed on the tables as decorations. |
Ingrid


These look so easy to make! What a great idea to use and hang from the ceiling using the fishing line if you want to create ambiance for a party or event!
ReplyDelete